First pick the ridge beam, roof joists and other long special logs among the logs available.
Number the logs and record the measurements in a log list. Measure dimensions such as butt diameter, top diameter and length.
- The bottom tier is the first layer of logs on top of the foundation.
- Log preparation includes debarking and trimming.
- When roundness is removed from the log, the corner joint becomes tight and neat.
- Traditionally, the log has been set so that it curves upwards. Nowadays, a round log is placed on its side, in other words the curved back comes away from the wall.
- The cross-grained cells of wood are less resistant to weather changes, and these should face the inside of the building.
- When lifting a log, it is recommended to tie a rope at the end of the log so that the rope can be used for guiding the log from the ground.
- Logs can be moved safely by using appropriate tools.
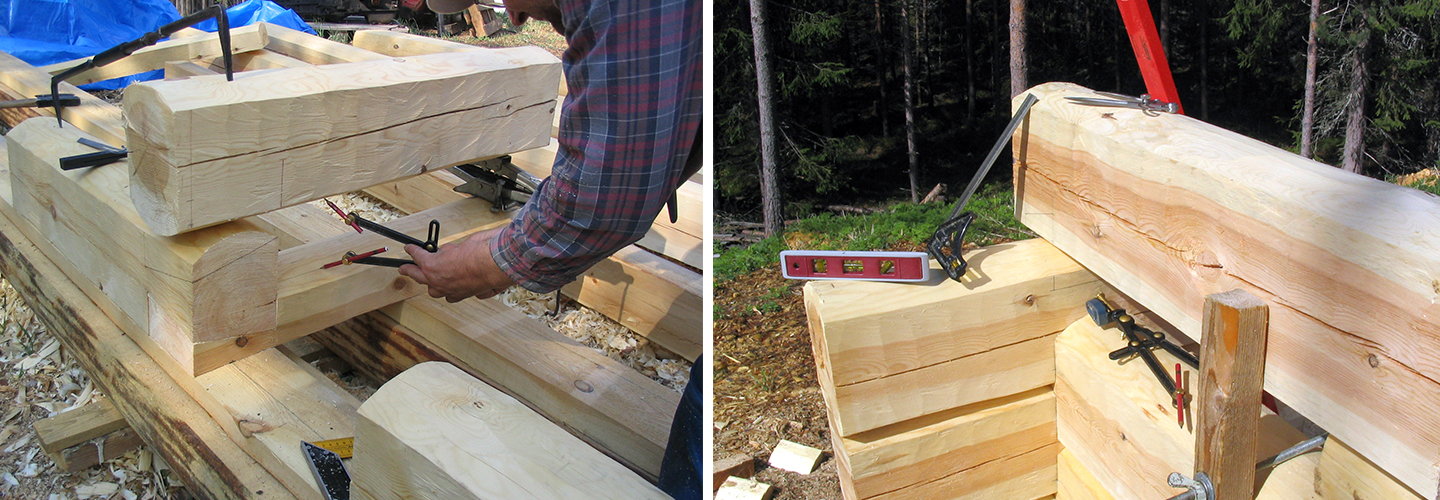
- Set the log in place on the basis of the centre line of the log or the surface of the interior wall. You can use a spirit level and tape measure here.
- The log is secured in place using special holding hooks.
- The log can be hewed in place without pre-cutting a longitudinal groove, by using a pen marking.
- The corner joints must be drawn accurately.
- Once the drawings have been made accurately, the cutting of the joints can begin. Otherwise, this can be a rough sawing, after which the setting and drawing of logs are repeated.
- The hewing begins with the cutting of the longitudinal joint.
- Any protrusions are removed from the joint to the overhead log by means of a barking iron.
- A well-drawn and carefully-hewed log will fit well into place.
- When the frame is in place, the holes are drilled, and the log seams are stuffed and provided with tenons.